Blog · Hiking
Hiking, step by step: how day hikers and trekkers climb easier, come down kinder and make it to the top of the big one
Uphill pacing, going downhill, trekking poles, carrying a pack, rough ground and altitude, explained for day hikers and anyone training for a big trek, with the off-trail training that keeps your knees and ankles going.
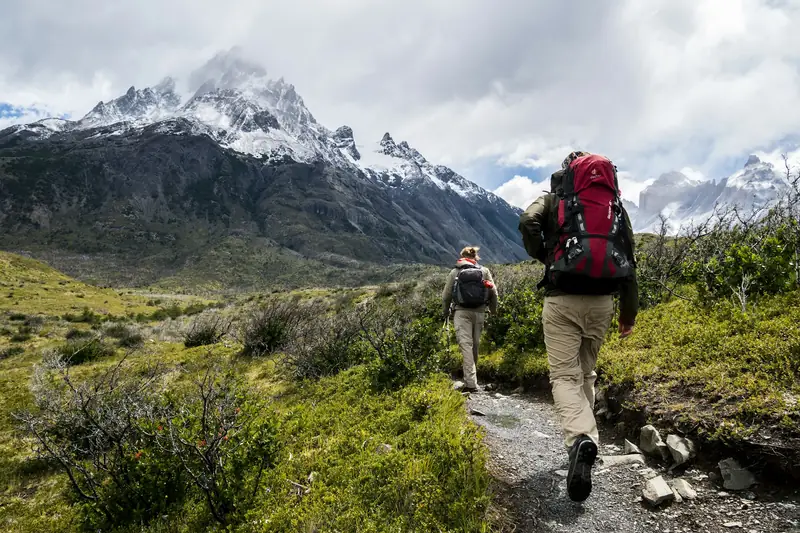
Every hiking group has one. They set off so slowly you wonder if they'll ever reach the top, yet they never seem to stop, and at the summit they're halfway through a sandwich while everyone else is bent double. On the way down, when your knees are complaining and your thighs are shaking, they're still chatting.
They aren't doing anything magic. They pace the climb so they never stop, take short steps on the way down, use their poles, carry their pack on their hips, and have legs that are used to hills. This guide walks through the skills that matter, whether it's a day in the hills or training for a big trek or mountain: what each one is for, how to do it, the classic mistake, and what you can do off the trail to make it easier on your body. Where the research has something useful to say, we say it, and every number links to the study it comes from.
The big idea: hiking is two sports, up and down
On a map, a hike is a distance. Your legs experience it as height. In a lab study on a treadmill tilted from steeply down to steeply up, walking up a 45% slope cost about ten times as much energy per metre as walking on the flat.[1] Going down was cheapest on a gentle slope of about 10%, then got more expensive again as it steepened, because on steep ground your muscles stop pushing you along and start braking.
That braking is the part most people never train for. Walking downhill loads the knee more than walking on the flat, with the thigh muscles acting as brakes on every step.[2] It's why the climb leaves you breathless and the descent has you taking the stairs sideways for two days.
So hiking needs two different things: a heart and lungs that can keep a steady climb going for hours, and legs that can absorb a long way down. Both can be trained.
Uphill: a pace you never have to stop
The aim on a climb is a pace you can hold to the top. Stopping every few minutes to gasp, then charging off again, is slower and more tiring than a steady plod. On steep ground and at altitude, mountaineers add the rest step: a tiny pause on each step with the back leg straight, so your skeleton holds your weight for a moment instead of your muscles.
How to do it:
- Start slower than feels necessary. The first 20 minutes set up the whole day
- Shorten your steps as it steepens, and keep the rhythm the same
- For the rest step, step up, straighten your back leg and let your weight sit on it for a beat, then step through
- Put your whole foot down where you can, heel included, to spare your calves
- Breathe in time with your steps, and ease off as soon as you can't talk in sentences
The classic mistake is charging the first hill as if it's the last, then spending the rest of the morning stopping and starting. The other is taking huge steps up onto rocks, which turns every step into a lunge. Look for the smaller step round the side.
The talk test is a surprisingly good gauge. In a lab study, the point where speech first became difficult lined up almost exactly with the ventilatory threshold, the effort above which breathing and fatigue start to climb steeply.[3] Nobody has tested the rest step in a trial. It's mountaineering wisdom, and it works.
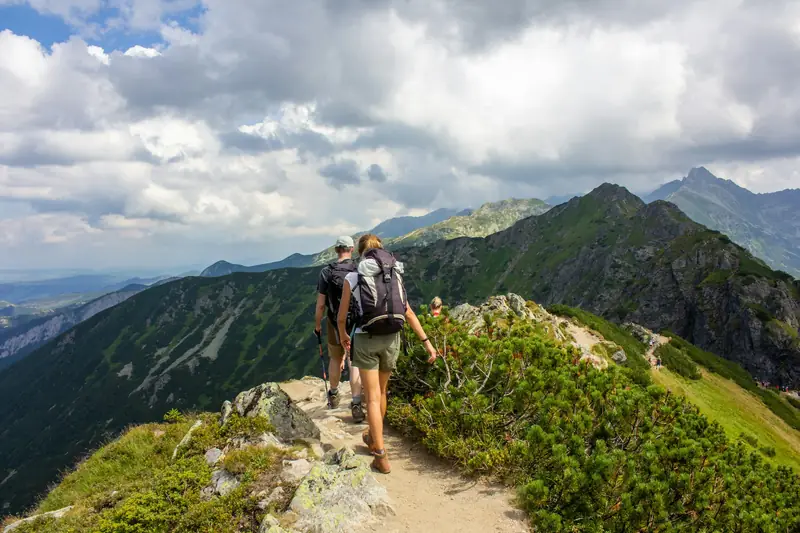
Train it off the trail. Climbing is a step-up, repeated thousands of times. Slow step-ups onto a knee-height box, split squats and calf raises build the legs. Long, steady sessions on a stair machine, a steep treadmill or your local hill build the engine.
Downhill: short steps, soft knees
Going down is where your knees and thighs take the most punishment, and where most people go fastest, because gravity is helping. On every step down, your thigh muscles lengthen while they work to stop you. Done well, a descent is controlled and quiet. Done badly, it's a series of small crashes.
How to do it:
- Take short steps, so each one drops you less far
- Keep your knees soft and slightly bent. Never land on a straight, locked leg
- Keep your weight over your feet rather than leaning back into the hill
- Zig-zag across steep ground instead of going straight down it
- Slow down. The descent is not where you make up time
The classic mistake is leaning back with long, stiff-legged steps, so your heel slams down and your knee takes the shock. The other is jogging the last stretch because you want to be finished, exactly when your thighs have the least braking left. In the treadmill study above, on slopes steeper than about 15% the muscles worked much as they do in pure braking exercise[1], the kind of work that leaves muscles sore for days.
Train it off the trail. The best preparation for long descents is lowering your body under control. Slow step-downs off a low step, taking three seconds to lower, and slow split squats train your thighs for exactly this job. Downhill walking is training too (more on that below).
Trekking poles: four legs on the way down
Poles are the cheapest knee protection in hiking. On the way up, they let your arms help. On the way down, they take part of each step's load off your knees, and on rough ground they give you two extra points of contact.
How to do it:
- Set them so your elbow is at about a right angle on flat ground
- Shorten them a few centimetres for long climbs and lengthen them for descents
- Put your hand up through the strap from below, so you can push down on the strap rather than gripping hard
- Going down, plant them slightly ahead of you and lean onto them as you step
- Alternate them with your steps on easy ground, and plant both together for a big step down
The classic mistake is keeping them strapped to your pack until your knees already hurt. The other is waving them about without putting weight through them: all of the effort, none of the benefit.
The evidence here is good. In a lab study of men walking down a steep ramp, poles cut the forces through the knee by 12 to 25%.[4] A later study tested hikers with no pack, a day pack and a large expedition pack, and poles reduced the load on the knees and ankles whatever they carried.[5] The best real-world test was on Snowdon: 37 people walked up and down, half with poles. The pole group found the climb easier, and over the next two days had less muscle soreness and kept more of their leg strength.[6] The trade-off is that your heart works harder, because your arms join in, while your legs do less.[7] For most hikers, that's a good deal.
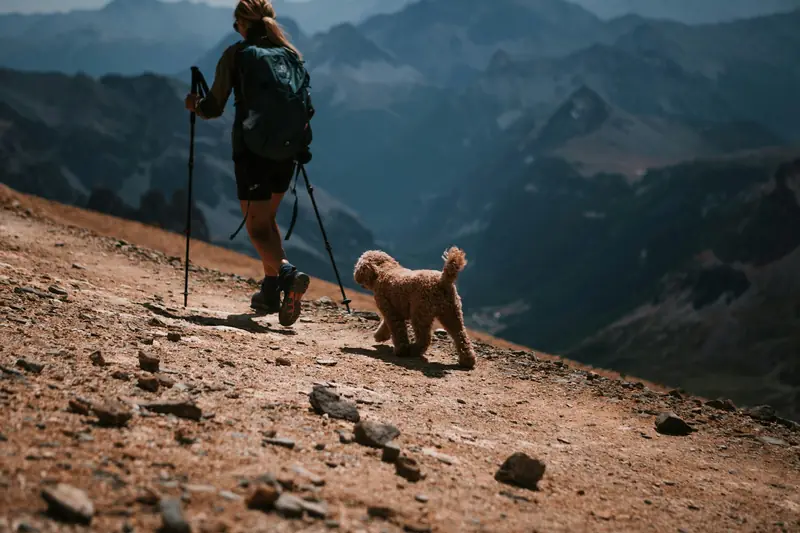
Train it off the trail. Poles hand some of the work to your shoulders, arms and trunk. Rows, push-ups and farmer's carries prepare them for a full day of planting and pushing, and a few practice walks with poles get you used to the rhythm.
Carrying a pack: on your hips, close to your back
The further the weight sits from your body, and the more of it hangs from your shoulders, the harder every step becomes. A well-packed, well-fitted pack feels like part of you. A badly packed one pulls you backwards all day.
How to do it:
- Put the hip belt on your hip bones, not round your waist, and let it carry most of the weight
- Tighten the shoulder straps after the belt, so they steady the load rather than hold it up
- Pack the heaviest things close to your back, roughly between your shoulder blades
- Pull the small straps at the top of the shoulder straps so the pack hugs you instead of leaning away
- Take only what you need. Every extra kilo goes up every metre of the climb
The classic mistake is wearing the hip belt like a trouser belt, so your shoulders take everything and your neck aches by lunchtime. The other is packing heavy things at the bottom or hanging them off the outside, so the pack sways with every step.
Most of what we know about carrying loads comes from soldiers, who carry far more than hikers. A large review found that weight costs the least energy close to your own centre of mass, that hip belts take pressure off the shoulders, and that weight on your feet costs more than the same weight on your back[8], which is worth remembering when you choose between heavy boots and lighter shoes. Pack weight matters on long trips: in a survey of 128 long-distance hikers, heavier packs went with more numbness and tingling, though not with sprains or other muscle and joint injuries.[9]
Train it off the trail. A pack is a loaded carry. Farmer's carries, rows, back extensions and side planks build the trunk and upper back that hold it steady. Most useful of all, walk with your actual pack, adding weight over the weeks before a big trip. In the military research, aerobic training, strength work and regular walks with a load together improved loaded marching.[8]
Rough ground: look ahead, look after your ankles
Roots, loose stones, wet rock and mud ask your ankles to react to something different on every step, and an ankle that's slow to react rolls.
How to do it:
- Look three or four steps ahead, not at your boots, and pick your line
- Shorten your steps on rough ground so you can adjust mid-stride
- Land your foot flat on rocks rather than on an edge
- Treat wet rock, roots and wooden boardwalks like ice
- Use your poles as extra contact on loose ground and at stream crossings
The classic mistake is admiring the view and walking at the same time. Stop to look. The other is pushing on at the same speed late in the day, when tired legs react more slowly.
The best predictor of a sprained ankle is an old one. A large overview of the research found strong evidence that a brace helps prevent repeat sprains, and moderate evidence for balance training.[10] If you've rolled an ankle before, a lace-up brace or tape on rough trails is sensible insurance. As for boots, we found no trial showing that high-cut hiking boots prevent sprains. They may feel more secure, but they're no substitute for an ankle that can react.
Train it off the trail. Single-leg balance is the ankle's training. Stand on one leg while you brush your teeth, then try it with your eyes closed or on a cushion. Calf raises, small hops and sideways step-downs build the strength to catch a roll before it becomes a sprain.
Breathing and altitude: slower is faster
British hills are nowhere near high enough for altitude problems. But if your big trip is Kilimanjaro, Everest base camp or a high Alpine route, the rules change. Each breath carries less oxygen, so the same walk feels much harder, and your body needs days to adjust.
How to do it:
- Slow right down. At altitude, your talking pace is slower than you think
- Breathe deeply and rhythmically, matching breaths to steps, and on steep ground take a breath or two for every step
- Climb high and sleep low where the route allows
- Above about 3,000 m, gain sleeping height slowly (the rule of thumb is below)
- Keep drinking and eating, even when you don't feel like it
The classic mistake is racing up on day one because you feel fine, or hiding a headache from the group. Acute mountain sickness feels like a bad hangover: headache with nausea, tiredness, poor sleep or dizziness.
It's more common than people expect. In one study at Colorado resorts between 1,850 and 2,750 m, 22% of visitors got acute mountain sickness, and how fast you go up, how high you sleep and your own physiology decide who gets ill.[11] The Wilderness Medical Society's guidelines put gradual ascent first. Their rule of thumb is that above 3,000 m you raise the height you sleep at by no more than 500 m a day, and every three or four days you take a rest day on which you don't sleep any higher.[12] If you have symptoms, don't go higher. If they get worse, or you become confused, unsteady on your feet or breathless at rest, go down straight away and get help: those are signs of the rarer, dangerous forms of altitude illness.
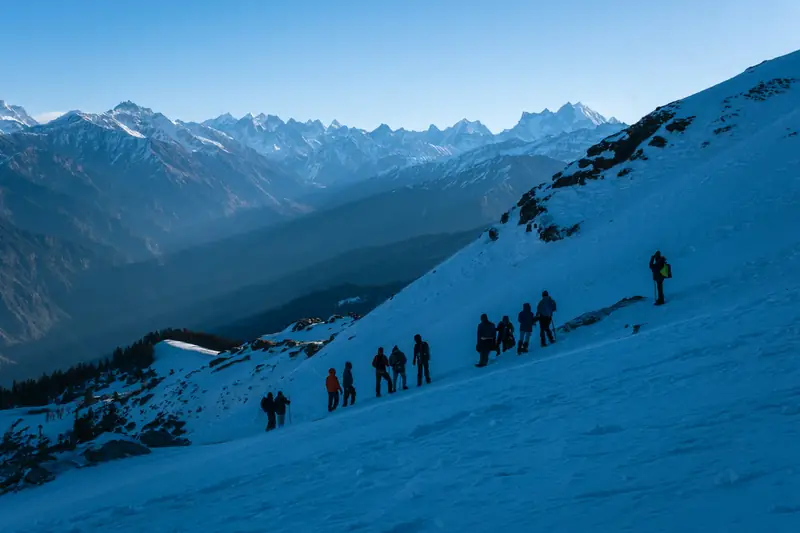
Train it off the trail. There's no practical way to train for altitude at home. What you can do is arrive with a big aerobic base and strong legs, so the walking itself costs less and you have more in reserve when the air gets thin.
Building up for a big hike
A big trek isn't one hard day. It's several long days back to back, usually with a pack, and the trouble comes on day three, when your legs are sore, your feet are rubbing and there's another 1,000 m of descent before dinner.
How to do it:
- Give yourself 8 to 16 weeks, more if you're starting from very little, with one long hike a week that adds time on your feet and height gained rather than speed
- Add your pack gradually, until you're training with what you'll carry
- Include descents. Downhill is the part your legs need most practice at
- A few weeks before, do a back-to-back weekend: two long days in a row
- Wear in your boots and socks on the training hikes, never on the trip itself
The classic mistake is doing nothing for months and then attempting a 20 km mountain day as "the test". The other is training only on the flat, so the first big descent comes as a shock.
Practising the downhill pays off quickly, because muscles adapt fast. In one study, people who did a 20-minute downhill walk one or even four weeks before a 40-minute one had 54 to 61% less muscle damage from the longer walk than people who hadn't.[13] A review of many studies of this "repeated bout effect" found the same: a smaller dose of the hard exercise first means less muscle damage and less soreness after the big one.[14]
Preparation matters for your heart too. In an Austrian study of men over 34 who died suddenly of heart problems while hiking, those who died were far more likely to have had a previous heart attack (17%, against under 1% of a matched comparison group) and less likely to do mountain sports regularly (31% against 58%).[15] The authors recommended building up with a proper training programme. That's an association, not proof, but the riskiest hike is probably the big one you haven't prepared for.
Train it off the trail. Two short strength sessions a week alongside your weekly hike is plenty. Step-ups, split squats and slow step-downs for the hills. Calf raises and balance work for the ankles. Rows and carries for the pack.
Does training off the trail really help?
For the problems hikers care about most, the evidence is encouraging, though thinner than in sports like football.
Sore legs after descents. A short dose of downhill walking cuts the damage from a later, longer descent by more than half[13], and poles reduce soreness and loss of strength in the days after a mountain walk.[6]
Knees. Poles cut the load on the knee going downhill by 12 to 25%.[4] No trial has tested whether strength training prevents knee pain in hikers, but your thighs are the brakes for every step down, and slow-lowering exercises train exactly that.
Ankles. Balance and coordination training helps prevent repeat sprains.[10]
One caveat: much of this research is in young adults, soldiers or lab volunteers rather than the average hiking club. But the principle carries over. Stronger thighs, steadier ankles and a body that's used to a pack give every hike more to work with.
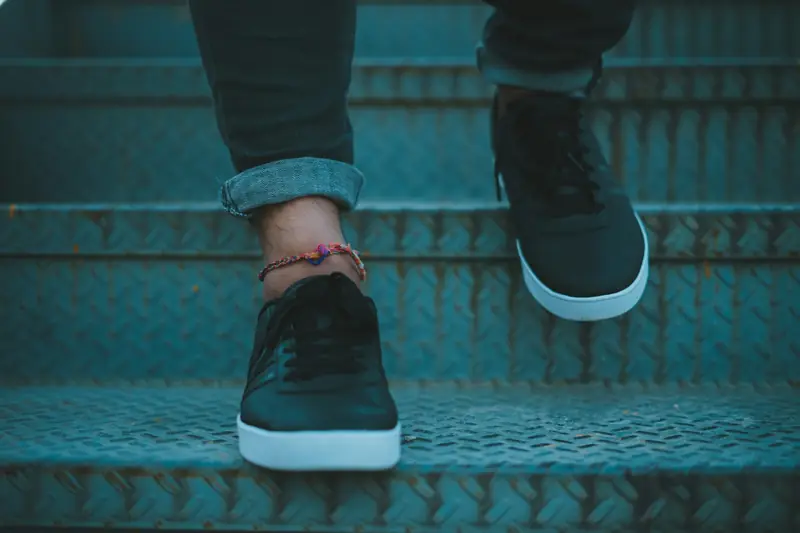
Two short sessions a week alongside your hiking is plenty to start. Here is how the work lines up with the trail:
| Build this | It helps your | Try |
|---|---|---|
| Thigh braking strength | Long descents, knees, next-day soreness | Slow step-downs, slow split squats, downhill walks |
| Climbing strength | Steep climbs, big steps up | Step-ups, split squats, calf raises |
| Aerobic base | Steady climbing pace, long days, altitude | Long hill walks, stair or steep treadmill sessions |
| Ankle balance | Rough ground, old sprains | Single-leg balance, small hops, sideways step-downs |
| Trunk and upper back | Carrying a pack | Farmer's carries, rows, side planks |
| Shoulders and arms | Using poles all day | Rows, push-ups, practice walks with poles |
Staying on the trail
Most hiking problems are small but can still ruin a trip. In a survey of 280 people who had hiked at least a week of the Appalachian Trail, 64% had blisters, 56% had diarrhoea and 36% had sudden joint pain.[16] They were walking for months, so a day hiker will see far less, but the list is familiar.
Knee pain on descents. Usually an ache at the front of the knee that builds through a long descent. Poles, short steps, a slower pace and stronger thighs are your best bets. If a knee swells, locks or gives way, get it seen.
Ankle sprains. If you've sprained one before, the most useful thing you can do is balance training. In people who had recently sprained an ankle, eight weeks of home balance training cut repeat sprains by about a third.[17] After a fresh sprain, early, gentle movement is one of the best-supported treatments.[10] If you heard a pop, can't put weight on it, or it swells badly straight away, get it checked.
Blisters. Blisters come from repeated rubbing, and damp, sweaty skin rubs more than dry skin.[18] Wear your boots in, choose synthetic or wool socks, and deal with a hot spot the moment you feel it. Cheap paper tape works: in a trial in ultramarathon runners, blisters formed under the tape far less often than on untaped skin.[19] A blister that turns red, hot and swollen or weeps pus needs a doctor or nurse.
Back and shoulders from the pack. Back strains, and a numb or weak arm from straps pressing on nerves at the shoulder, are classic load-carrying problems.[8] Most of the fix is the hip belt doing its job. Numbness or weakness in your arms or hands that doesn't settle once the pack is off should be checked.
Sore thighs after a big descent. That deep ache a day or two later is muscle soreness from braking. It settles within a few days, gentle walking helps, and the next descent will hurt less.[13]
Chest pain. The most serious warning sign on a hill isn't in your legs. Chest pain, pressure or unusual breathlessness on a climb means stop and get help, not push on.[15]
The long game
Hiking is one of the most accessible forms of exercise there is. A review of the research concluded that it helps people meet physical activity guidelines, costs very little, and comes with the bonus of time in nature.[20] Plenty of people are still walking the hills in their seventies and eighties. The off-trail work in this guide is what keeps you out there long enough to join them, and gets you to the top of the big one with legs left for the way down.
Training built around your hiking
Most hikers never do any of this, not because they don't care, but because it's hard to know where to start. A generic gym plan doesn't know you've got a trek booked for June, that your knees hate long descents, or that you only have a step and a pair of dumbbells at home.
Achilles does. Pick a goal such as Get stronger or Stop getting injured, and tell it how often you hike, the time and equipment you have, and anything that bothers you, from sore knees on the way down to an ankle you've rolled before. Achilles builds your plan from a library of sports-science research: the work for your thighs, calves, ankles, trunk and upper back, and how to progress it, each exercise with its sets, reps and rest, and the studies behind it. Log your sessions and your hikes, and the plan moves with you, building towards the big day.
See how Achilles worksFurther reading
- Minetti A.E., Moia C., Roi G.S., Susta D. & Ferretti G. (2002). Energy cost of walking and running at extreme uphill and downhill slopes. Journal of Applied Physiology, 93(3). Link
- Kuster M. et al. (1995). Kinematic and kinetic comparison of downhill and level walking. Clinical Biomechanics, 10(2). Link
- Persinger R. et al. (2004). Consistency of the talk test for exercise prescription. Medicine & Science in Sports & Exercise, 36(9). Link
- Schwameder H. et al. (1999). Knee joint forces during downhill walking with hiking poles. Journal of Sports Sciences, 17(12). Link
- Bohne M. & Abendroth-Smith J. (2007). Effects of hiking downhill using trekking poles while carrying external loads. Medicine & Science in Sports & Exercise, 39(1). Link
- Howatson G. et al. (2011). Trekking poles reduce exercise-induced muscle injury during mountain walking. Medicine & Science in Sports & Exercise, 43(1). Link
- Hawke A.L. & Jensen R.L. (2020). Are trekking poles helping or hindering your hiking experience? A review. Wilderness & Environmental Medicine, 31(4). Link
- Knapik J.J., Reynolds K.L. & Harman E. (2004). Soldier load carriage: historical, physiological, biomechanical, and medical aspects. Military Medicine, 169(1). Link
- Anderson L.S. et al. (2009). The impact of footwear and packweight on injury and illness among long-distance hikers. Wilderness & Environmental Medicine, 20(3). Link
- Doherty C., Bleakley C., Delahunt E. & Holden S. (2017). Treatment and prevention of acute and recurrent ankle sprain: an overview of systematic reviews with meta-analysis. British Journal of Sports Medicine, 51(2). Link
- Hackett P.H. & Roach R.C. (2001). High-altitude illness. New England Journal of Medicine, 345(2). Link
- Luks A.M. et al. (2024). Wilderness Medical Society clinical practice guidelines for the prevention, diagnosis, and treatment of acute altitude illness: 2024 update. Wilderness & Environmental Medicine, 35(1 suppl). Link
- Maeo S., Ochi Y., Yamamoto M., Kanehisa H. & Nosaka K. (2015). Effect of a prior bout of preconditioning exercise on muscle damage from downhill walking. Applied Physiology, Nutrition, and Metabolism, 40(3). Link
- Boyd L. et al. (2023). The effects of pre-conditioning on exercise-induced muscle damage: a systematic review and meta-analysis. Sports Medicine, 53. Link
- Burtscher M., Pachinger O., Schocke M.F. & Ulmer H. (2007). Risk factor profile for sudden cardiac death during mountain hiking. International Journal of Sports Medicine, 28(7). Link
- Boulware D.R., Forgey W.W. & Martin W.J. (2003). Medical risks of wilderness hiking. American Journal of Medicine, 114(4). Link
- Hupperets M.D.W., Verhagen E.A.L.M. & van Mechelen W. (2009). Effect of unsupervised home based proprioceptive training on recurrences of ankle sprain: randomised controlled trial. BMJ, 339. Link
- Knapik J.J., Reynolds K.L., Duplantis K.L. & Jones B.H. (1995). Friction blisters: pathophysiology, prevention and treatment. Sports Medicine, 20(3). Link
- Lipman G.S. et al. (2016). Paper tape prevents foot blisters: a randomized prevention trial assessing paper tape in endurance distances II (Pre-TAPED II). Clinical Journal of Sport Medicine. Link
- Mitten D. et al. (2018). Hiking: a low-cost, accessible intervention to promote health benefits. American Journal of Lifestyle Medicine, 12(4). Link